Showing posts with label DIY. Show all posts

Monday, July 22, 2013

Hally’s by Alexander Waterworth Interiors

After seeing some of these images circulating on Pinterest and Tumblr I decided to share with you Hally's, a recently opened deli in London, and a project by Alexander Waterworth interiors

An eclectic mix of decorative pieces, reclaimed materials and soft tones create an inviting and homely atmosphere. You can even get some DIY ideas for your own home, like the dip dyed chairs in different pastel shades, or the vintage looking jars for condiments with chalkboard painted labels. And who doesn't love those white washed brick walls with the carefully styled wooden open shelves? It's definitely a place to visit, next time I'm in London (I've already been on Google maps to see where it is located!).


Tuesday, February 5, 2013

Bavarian Forest Walls and Wall-Mounted Nightstands

You might remember a bit of the history of what is now Heather's room.


Actually, let's back up, since I get lots of questions about Heather every time I mention her.

Heather is my youngest sibling (there are five of us and I'm the oldest). She graduated from college last spring and came to live with us in the concrete jungle where dreams are made. She is working and also helps me with some of my business stuff and she pitches in with the kids (basically, she is saving my bacon. Also she is clever and funny and lovely and a general dream of a person to get to be around every day. We feel lucky to have her.)

So Heather was living down on the garden level for the first few months, but we decided to switch things around in December-ish. Michael and I moved downstairs, which made it so much more convenient for us to be closer to the office where we both log in long hours, and she moved into the small room up by the kids on the third floor.

She was super down with doing black walls like I had originally planned on for that room. So while she was home in Arizona for Christmas I decided to surprise her with some room progress.
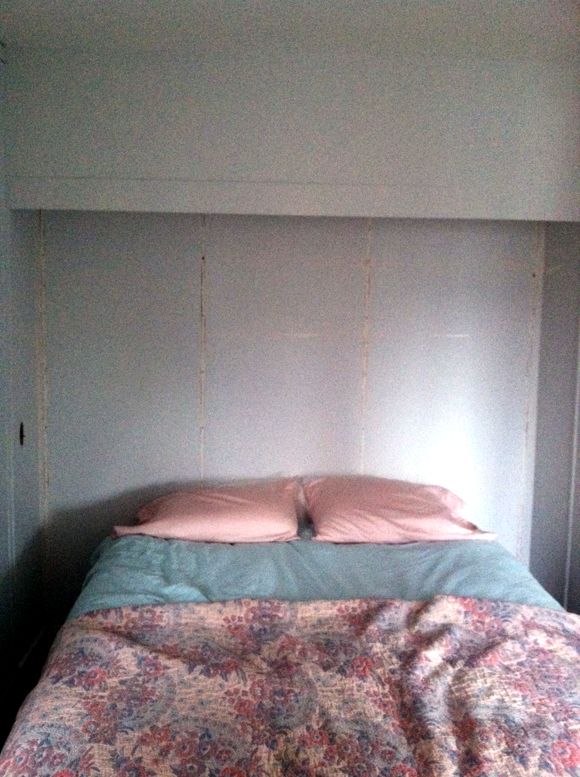
Remember those dang shelves hanging above the bed from when the bachelors lived here? Well those shelf rails must have been there for decades because there were probably 17 layers of paint slapped on top, leaving the ugliest deep trenches behind. It was such a pain, but we scraped and sanded and filled up those trenches with as much joint compound as we could pack in there.

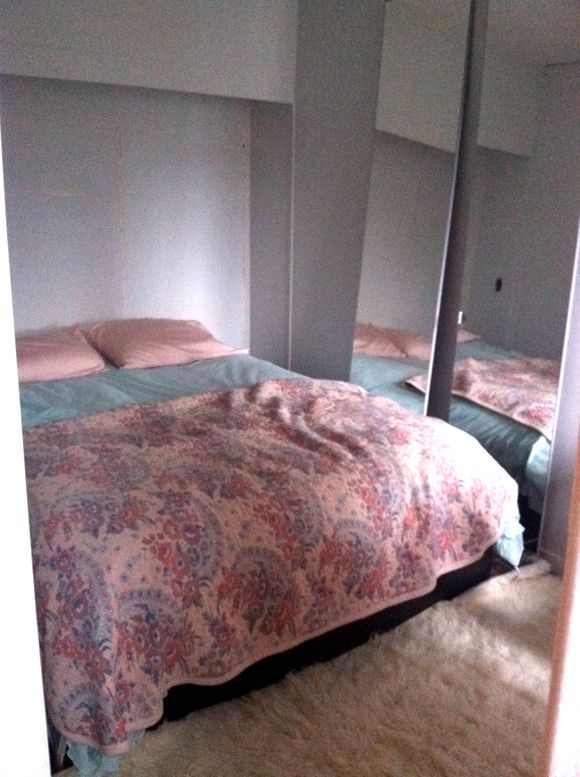
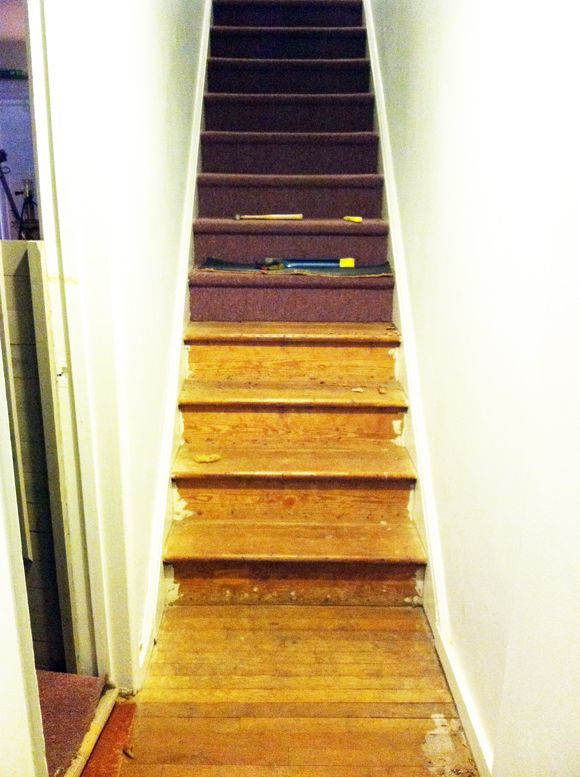
Here's the sad, neglected before shot, right after we pulled down the shelves and while we were building the IKEA Pax units (those mirrored doors to the right).


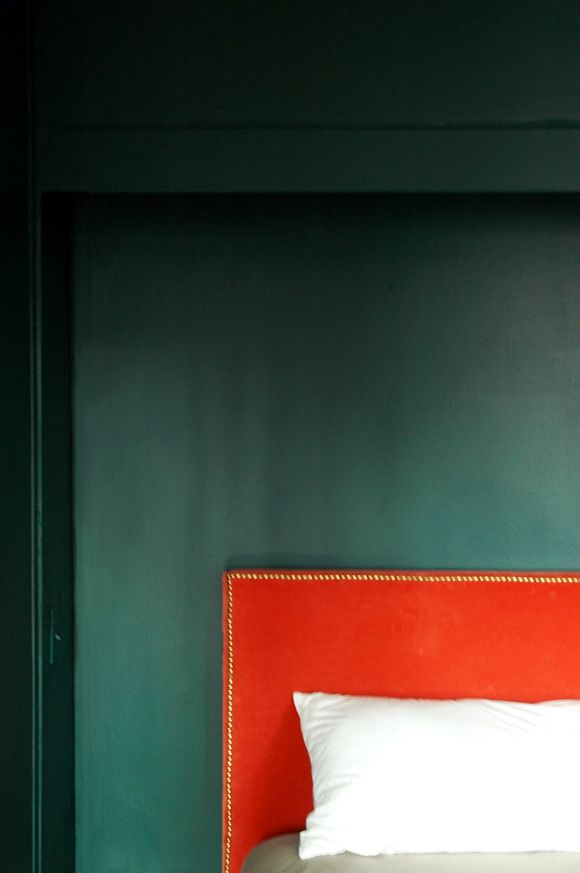
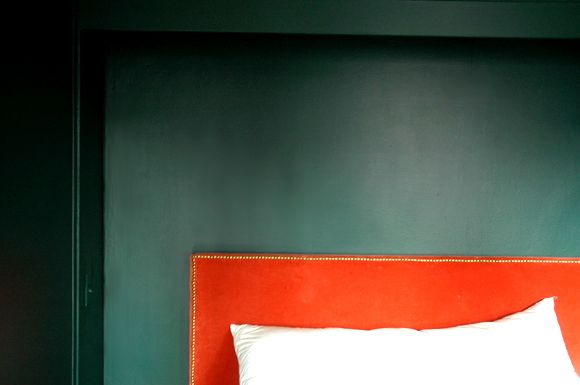
The light from the windows is casting some funny shadows here, but the walls are about a million times better than they were before after that sanding and scraping. They are old, imperfect walls though, so we went with an eggshell finish with the paint (since gloss would only highlight the imperfections). The color is Benjamin Moore's Bavarian Forest. It is the perfect dark teal. Close to black, but a little softer. Heather's favorite color is green too, so I knew she'd be cool with the small change in plans.


Since the room is so, so teeny and clothing storage is super tricky, we ended up buying 
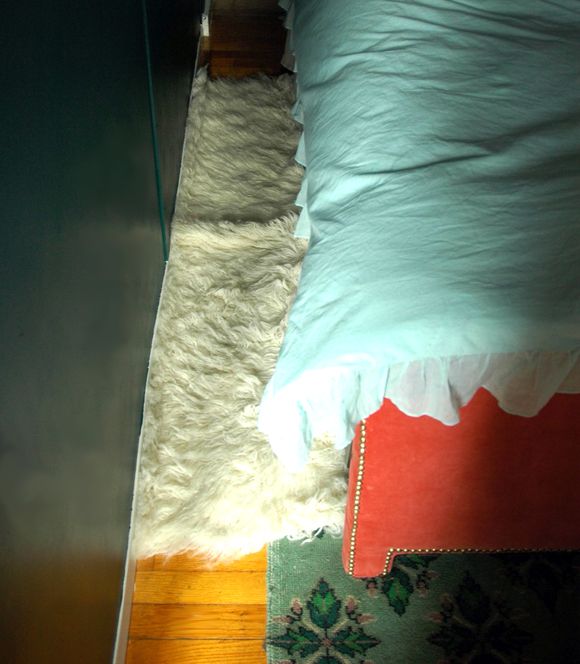
this bed with drawers in the frame. Guys, I don't recommend this route unless you are in dire straights like we were. But the frame itself is pretty non-descript and the drawers actually work well. We ended up screwing the velvet footboard right onto the bed frame's existing footboard, so you can't even really see any of the old frame.


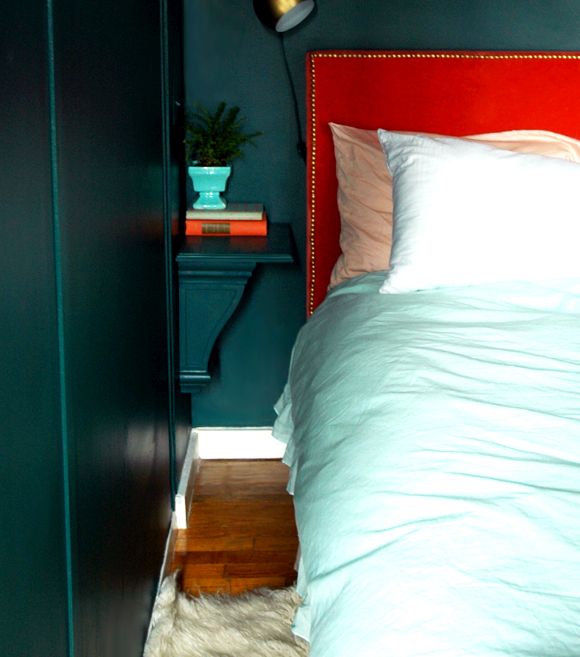
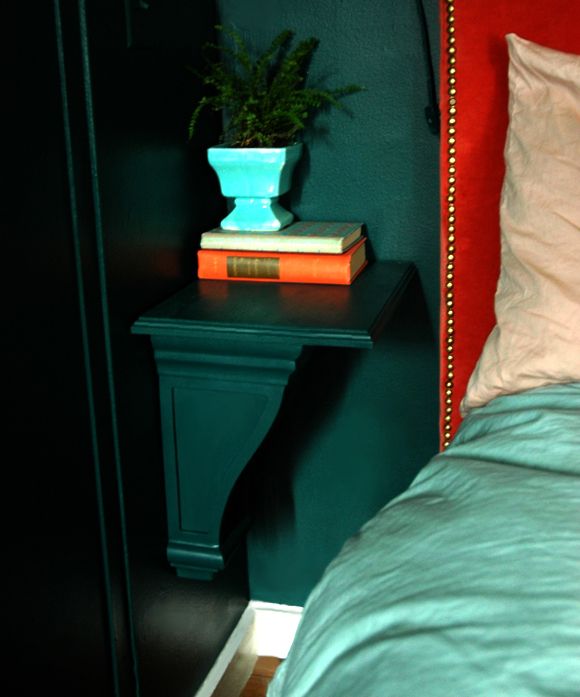
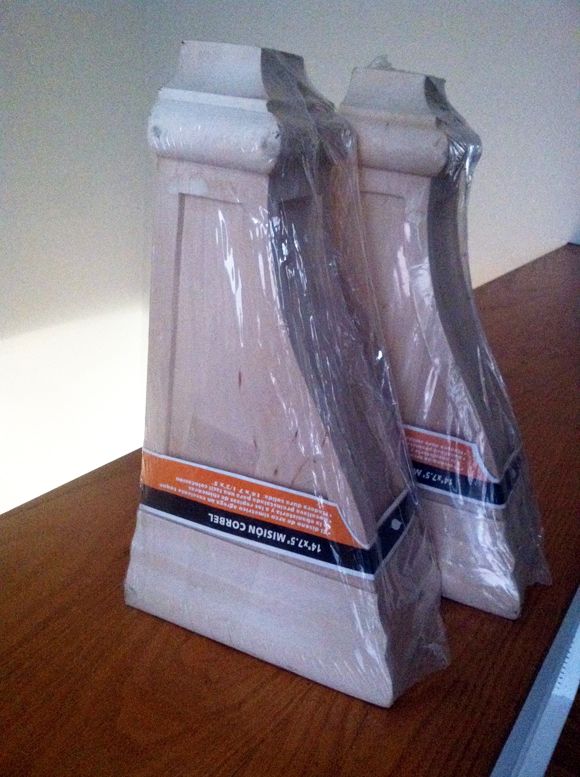
But as you can see, there is zero space for nightstands, especially because of the drawers in the frame (there's one up by the head of the bed). I looked around for wall-mounted options, but I couldn't find anything right, so I ended up buying a pair of these corbels from the hardware store.


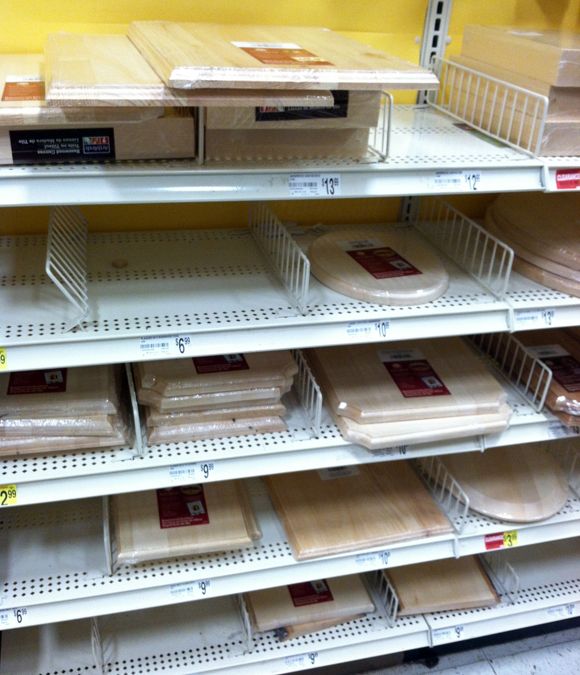
They fit the narrow space perfectly. I was on my way back to the hardware store to buy some wood to cut down to act as the table top, when I stopped by Michael's and checked out the wood section.


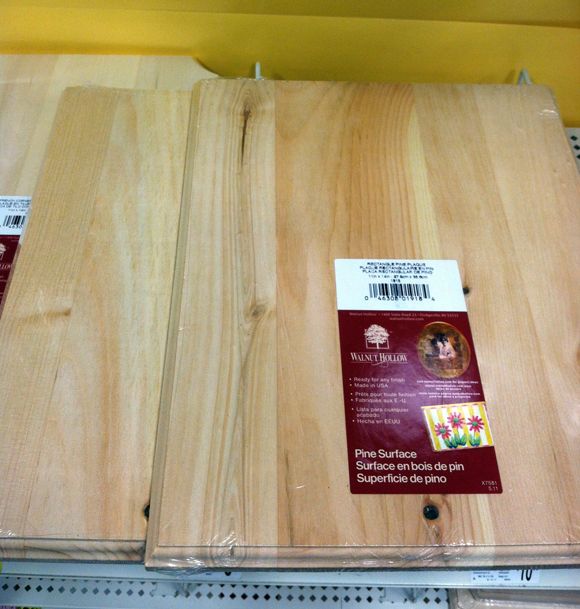
These little pine boards were about $5 each on sale, and they were the exact right size. Too perfect to pass up, I say!


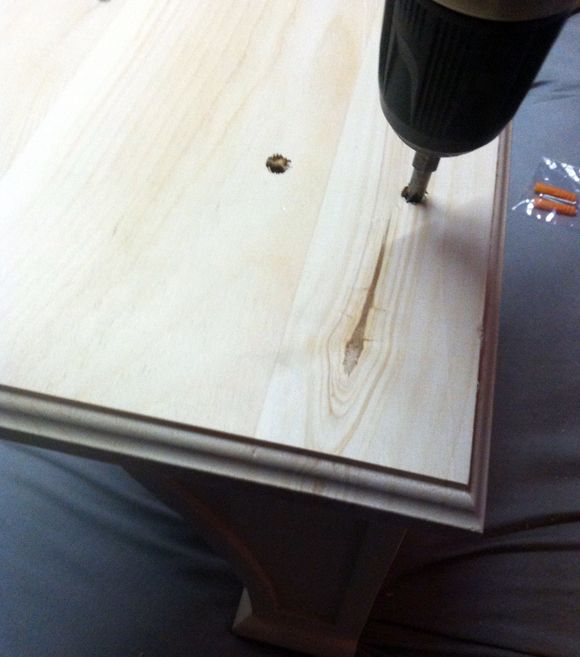
Two quick drywall screw-ins later and we had a nightstand!


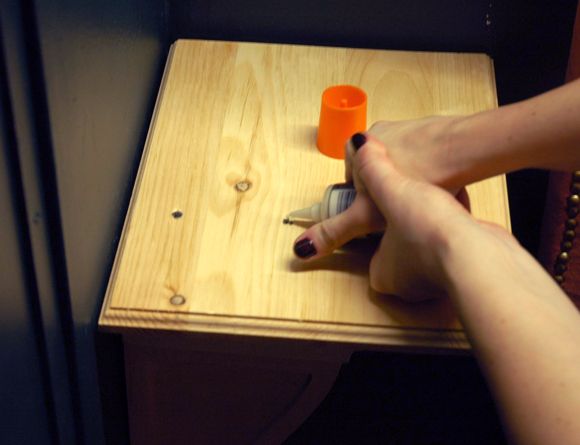
Since the table top was securely attached to the corbel, I could just hang the corbel itself on the wall and it sits there securely. I also filled in the screw holes and the small little pine knots with a bit of wood filler and then I painted out both nightstands in the wall color.


I love how these turned out! They add a little something to the lines of the room, but they also disappear since they're the same color as the wall.


And isn't the wall color perfect with the coral velvet headboard?


More projects from this room to come. Lots to share!

PS Thank you, thank you, thank you for your kind words in the last two posts. I am so grateful for you all.

PPS The Apartment Therapy Homies just went up and I'm so flattered some of you already nominated me in the Home Design and the DIY categories. Thanks a million for your votes! xoxo

Monday, December 10, 2012

DIY: Stair Runner

I've mentioned before that one of the first things we did after moving in was pull out the horrible red commercial grade carpeting that covered most of the garden level (other than the floors in my office), including the stairs that go up to the living room.


I loathed this carpet and we were relieved to see that the wood under the carpet was in salvageable condition in most places. But when we started pulling off the carpet on the stairs, we were in a different boat. The wood was full of holes and was covered in paint spills and brush marks.


I like the look of a painted stair tread anyway, so I happily painted the stairs white (well, mostly...) before laying down the stair runner (which is really just a bunch of IKEA rugs)! Much better right?


Here's the full run down:

I've come to love and appreciate the power of a sanding block in an old house. Everything in my house looks better after a good rub down with a sanding block! (it'll clean up old bathroom tiles like you wouldn't believe!) I cleaned up as much of bumps and the uneven parts here on the stairs as possible.


Then I primed and painted just the edges of each step. I was going to paint the whole width, but then I though it might be better to leave the wood in case the owner refinishes the floors in the future.


It's CRAZY how much brighter and cleaner the stairwell felt with just those few inches of white paint!

Once the paint was dry, I pulled out a few of these rug grippers I had picked up at the doller store a few months earlier. I swear, the hoarder comes out in me when I go to dollar stores and Target's dollar spot! Bad news. But it worked out for me in this instance.


This particular rug pad was the exact size as my stair's tread and it was sticky on the top and bottom, so everything was really held in place.


When I ran out of the special rug pads, I move to a runner-sized non-sticky rug pad that I cut to size, and that also worked really great. To tell you the truth I can't tell much of a difference between the stairs with the sticky rug pad and cheapie regular rug pad. So either works well.


So for the actual rug installation, I used four of these runners from IKEA. They were $25 each and I could get about 3.5 steps done per runner. I started at the TOP of my stairs and used a brad gun with 3/4" brads to secure the runner to just the underside of the step lip.


I put in one brad every 2-3" along the width of the stair tread. The rug pads helped the runner stay in place on the riser and the top of the tread, where there were no brads. When I got to the end of my runner, I trimmed off the rolled edge.


Without the rolled edge, it's easier to layer the start of a new runner on top more seamlessly.


Then you just line up the rolled edge of the next runner and staple in place.


I'll admit, I got a little sloppy when I was doing this project and I wasn't super-duper exact with my lines. From the top of the stairs, you can see the stipes wander a little bit near the center. :( It's not that bad in person, but in this photo, I pretty much want to pull out all the brads up to the middle portion and fix it this second. We'll see how long it'll last crooked I guess.  Learn from my mistake! Measure your edges. Mark it out with chalk maybe to make it a little easier on yourself?


Anyway, the fourth runner was a little short. I could have bought a fifth runner and cut it up for just this bottom riser, but I decided I kind of liked the runner starting a little higher off the floor. I'm calling it a happy mistake. :)


Then to finish up the look and to make sure the runner were completely secure on the stairs, I used three black nail heads (just eye-balled) on each tread (none on the risers). I thought about doing brass, but I really like the tone on tone happening with the black nail head on the charcoal weave. It's a more subtle look.


We've been loving our revamped stairs for a couple weeks now, and I am happy with the look and how it's wearing! The dark shows less dirt than I was worried about, and the stairs are much safer now, and about a million times quieter.


One other thing we did was apply Restor-A-Finish to all the floors that were under the old carpet, and they look SO much better. Much less dry. (compared to a few photos up)


I love seeing the stripes peeking into the living room. :)


So with the four runners, three packs of nail head trim and a couple dollar store rug pads, I think this project came in under $125.


So worth it!


PS the vintage runner in the hall was a flea market find. It's really long and I was hoping I could use it as a stair runner originally, but we were about three feet too short. Bummer.

PPS Another project from the garden level.

Wednesday, February 15, 2012

No one will ever know

 You can never have too many vases or luminaries. Creating your own  from materials on hand is both fun and cost effective.  You also get to have the pleasure of looking at it every day and knowing that you upcycled something.  Of course, accolades from your friends and family don't go astray either.

  Here are some of my personal favourite ideas collected from  Pinterest.    Happy creating.


 I would use these for their sculptural value and forget the greenery which looks forced.  Get various shapes and sizes of clear wine bottles.  Tape off or use adhesive stickers to create design.  Spray paint white and there you have it.  So easy and they would look very interesting massed together on a table top or mantle.


So, so easy!  Use elastic bands  to stretch around  around the clear cylinder vase .  Vary the position of the bands and make sure you have some overlapping, then spray paint. When the candles are lit the design is greatly enhanced. You can now buy battery powered candles which would work best in something this tall.


Check out the very detailed instructions for creating this tissue paper collaged vase.


 You may have seen this idea in Canadian House & Home.   Wait for a nice day where you can take your spray paint outside. Clean (remove any labels and adhesive)  and dry the bottles and then by pouring a dollop of paint into the bottle, gradually rotate/swirl the paint inside until the paint coats the entire interior. Some may need two coats. Dry on a damp or plastic dropsheet.  I think the colour you use will make or break this look.  I'm particularly fond of the sea glass green blues.
Update: Watch a video how-to by Stephanie White on House and Home's TV.


 Print your photo on Lazertran paper, making sure the image prints on the chalky eggshell side. Let dry for 30 minutes. Cut the image to size. Soak the printout facedown in a pan of water for about a minute. Peel off the backing and place the filmy printout onto a ceramic vase, smoothing out any air bubbles.


These look stunning and they are so, so easy to make using Krylon  Looking Glass Mirrorlike  Spray Paint. Clean out the vases/votive,  spray the interiors lightly with water and then with mirror paint. Turn upside down and let dry overnight.  Repeat the process if the first application looks too sheer. If you want to use them for flowers you have to inert a small glass inside to hold the water. Imagine the beautiful table centerpiece these would create using some with flowers and some with candles.


Sunday, January 8, 2012

DIY wow factor for walls

If I had oodles of money I would buy all the art my heart desires and I would have more walls!  In reality I have an interesting  art collection that I've grown over time , but not all of my wall decor is fine art.  There are so many other things you can do to add a WOW factor to your walls without breaking the bank.  Here are some of my favourites.

Enlarge and frame print material


Display your collections artfully 

Pinterest


Use wall paper and fabric in creative ways


Frame post cards, pages from old books, or photoographs


Spray paint sculptural objects
Hope there's an idea here for your walls.