Showing posts with label Organization. Show all posts

Tuesday, March 18, 2014

Bedroom Storage Organization Ideas
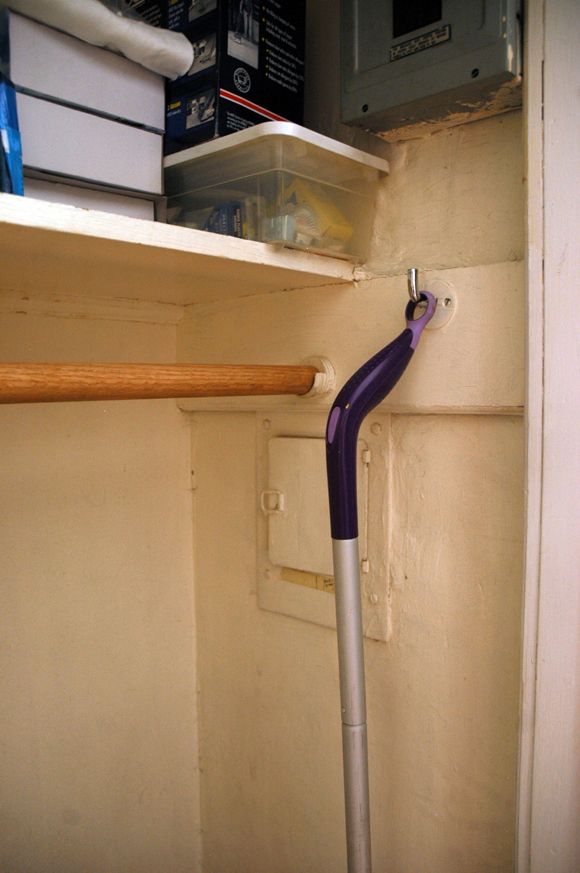
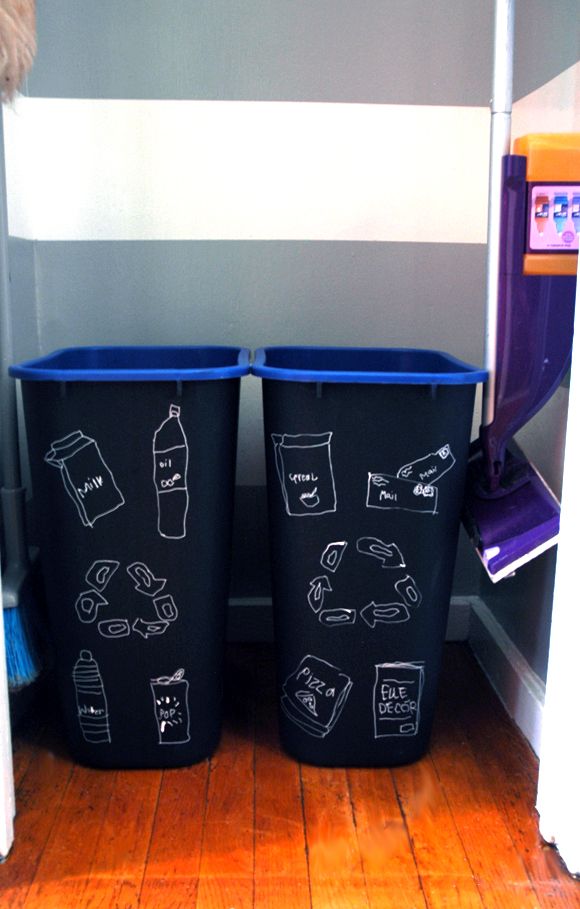
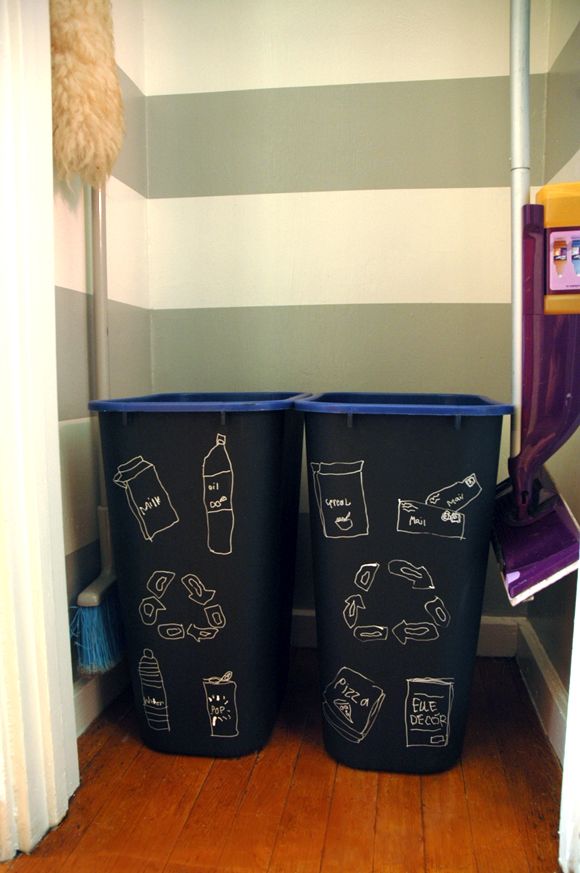
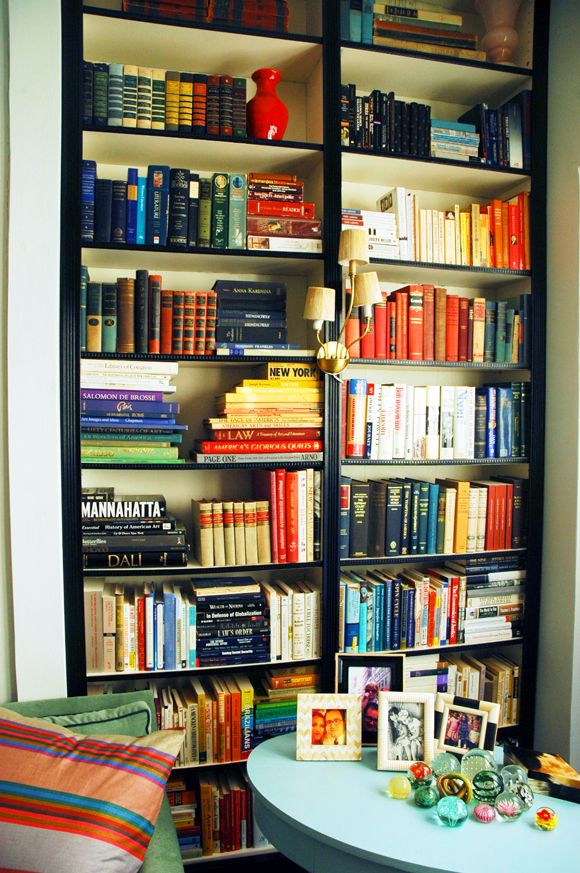
To optimize the storage space in your bedroom while keeping on a pleasant & uncluttered look; you need to use some smart tips and functional ideas depending on your bedroom design and decorating style in order to keep on the comfort & serenity that’s supposed to be dominating the ambience of the bedroom, and at the same time making it accommodate all your stuff. Discover many practical bedroom storage ideas that maximize the space while providing a very decorative look. The underside of the bed is a gold mine in terms of storage space; you can opt for drawers, lockers or even boxes that slide under the bed to store clothes and accessories you don’t use, and if you haven’t bought your bedroom furniture yet, know that you can get one of those bed models designed especially with storage drawers, which seems very clever as it will save space besides not cluttering the clean look because you know the rule: since it’s hidden, it’s clean! Besides the bed, the rest of the bedroom furniture is now also designed to accommodate a maximum of storage. You will find side tables, consoles and bed ends that contain dedicated storage chests that remain invisible.


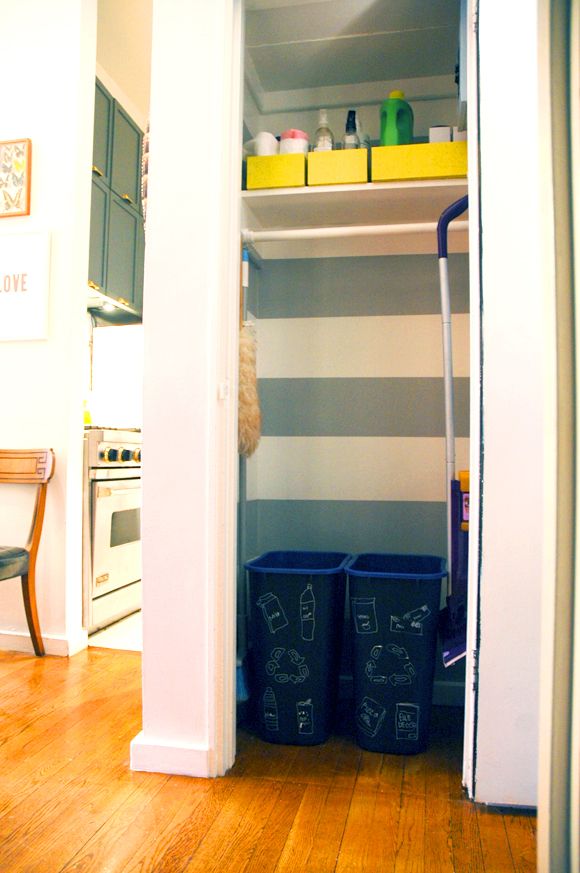
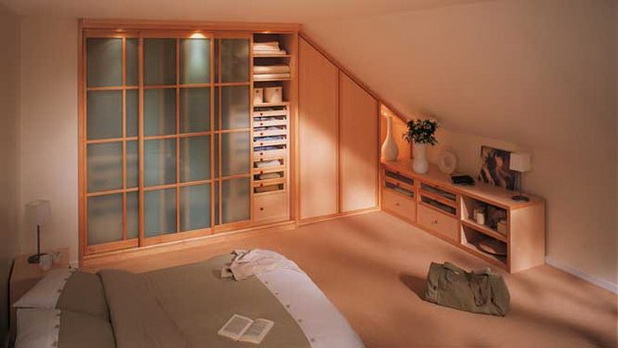
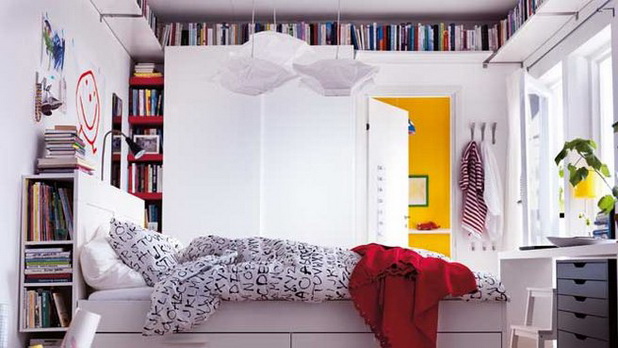
Since you’re looking for optimizing the bedroom space, you need to think more practically. For example, rather than opting for a dresser and a dressing table, prefer a model that integrates these two cabinet functions together to save space; this way the dresser can accommodate a top surface for storing makeup, and can include a mirror to make it very useful. Similarly, instead of choosing a simple headboard, prefer a bed model in which the headboard allows more storage. There are headboards that serve as real libraries with practical shelves that can accommodate all your books. Don’t hesitate to use the whole surface of the bedroom to carry out the storage. For example, you can choose an open wardrobe that you will run along the walls; the decorative effect will be also very original. Feel free also to use the entire area under the ceiling. For example, if you already have a good height, you can install shelves just below the ceiling to store books all around the room. If your bedroom layout has a sub-slope that does not allow you to circulate throughout this space, use it for storage! You can easily slide storage units or shelves at the end of your sub-slope. Finally, to gain more storage in the bedroom, nothing’s like a wardrobe that fits into the wall and lets you store stuff without cluttering the bedroom space!


Monday, February 18, 2013

How to Paint Perfectly Crisp and Straight Lines on Walls

After this post, some of you emailed for tips on painting really crisp and straight lines on walls. I have a simple approach, but it works every time for me! One little disclaimer though - stripes don't work well on highly textured walls. The lines just never look perfect, which would bug me a bit. So, best to attempt stripes only if you have smooth or close to smooth walls.
(Oooh! An update from the comments section: If you have textured walls, use caulking to seal the tape and you lines will be straight!!) 


To start, use a ruler to make your registration marks. My stripes are 8" wide, so I made a little mark with a pencil 8" above the floor board, every 18" or so around the wall of the closet, making sure to mark at the corners and turns especially. Then just measure and mark 8" above every one of those marks, going all the way up the wall.


Then use painters tape to connect the marks. Try hard to not bend the tape. If you pull the tape out gently and straight, you can trust that your lines will also be straight.

You can see here that the stripes don't look evenly spaced (because they're not). You'll need to tape above the registration mark and then below the registration mark to block out the full 8" for the stripe.


Then go back over the tape with your thumb and really smooth out and lay down the tape, just on the edges you'll be painting.


Here's the real trick for perfectly crisp lines: seal the edges of the painters tape with some of the base wall color before painting on the contrasting color. Don't paint the whole width of the tape. Just a bit along the edge of the tape on the side where the stripe will be painted.


Let that dry before you paint on the stripe color.


For my stripe color, I wanted to do a gray that sort of coordinated with the gray I just painted in my powder bath, since the doors are across the hall, only about three feet apart from each other. I didn't want to do the exact same color and I wanted something much lighter, so I mixed about one part BM Chelsea Gray with two parts White Dove.


You can roll or brush on the stripe color, and then I like to pull the tape off while the paint is still wet. I don't think it matters either way though, if you prefer waiting til it's dry. (#impatient)


Check out those lines! Not a bit of paint bled through because that extra little strep of sealing the edges with the base coat paint. I've used all brands of painters tape before too, and none of them give me the same results without doing the sealing step.


It's one of those completely satisfying projects that moves pretty fast. I busted out this closet in about two hours.


PS Some of you asked about the citron boxes I have on the shelf here. They're shoe boxes from Crewcuts! Ha! J. Crew is having an additional 40% off sale items plus free shipping, so how could I resist picking up some new spring kicks for the girls? The cute, sturdy boxes were a little bonus though, for sure. :)

Thursday, February 14, 2013

Cleaning Up My Recycling Closet

In the past, I've always tried to recycle, but that usually meant just sorting the obvious things - plastic bottles and cardboard boxes. We were never all that diligent about sorting... until we moved to Brooklyn Heights. People really care about recycling here (including and maybe especially the people that live next to us).  :) There might have been a situation where they tattled on us for not sorting good enough (whoopsies).

I have to say though, I'm actually sort of grateful we got busted. We were pushed to figure out a solution where we carved out some space to quickly and easily sort out our plastics, glass and paper. And now, recycling is a breeze, truly, and I feel less guilt-ridden. Like we are doing our part.

Here's how we did it:


We have a little closet right by the front door on the parlor level. It's across from the powder bath and around the corner from the kitchen. I think it was meant to be a coat closet or maybe even a pantry at one time. Mostly it was just disgusting. (seriously)


The painters the landlord hired to paint the brownstone before we moved in did a pretty shoddy job. They didn't paint the insides of any of the closets. I mean, what? Weird. So slowly I've been tackling one closet at a time to fix the situation, but I hadn't had a chance to do the recycling closet until recently. See that gross cream color? That was the color of the entire house before we moved in and it just looked dirty. (doesn't the Cabbage White look much more fresh?)


Gross. I'm am totally disgusted by the state of this closet and I live here. Apologies. No wonder I was no good at recycling! Who would want to open the door for this view:


30+ years of cream paint in a garbage closet is bound to look bad, even after a few scrubbings! So a new coat of paint in the closet was added to the to-do list. But probably the biggest issue we've had with the recycling situation is the girls had trouble figuring out how to sort items in the identical bins we had in the closet.


So on the fly I primed and painted just the outsides of the bins with chalkboard paint. Then I went outside to the recycling bins in front of our house and snapped photos of the two sorting guides.


I'd been dying to put my chalkboard pen to use again (they are so cool - totally recommend picking one up at an art supply store or you can buy one here). Gracie and I chose a couple of items to display on each of the bins and talked about layout and then she got to work with the chalkboard pen.


Claire was a little bummed she missed out on the illustrating action this time, but that's the good news about chalkboard (pen) recycling bins - the pen wipes off with a wet rag, so she can have a turn as often as she likes. Whatever helps them to learn their sorting, right? :)


Also, don't the walls look about a million times better? They got a fresh coat of white paint, which  was a huge improvement on its own, but horizontal stripes make every space more fun. Especially in tiny little secret spaces, where the stripes surprise you every time you need the broom or go to throw away an empty olive oil bottle.


And I'm happy to report that the mini-makeover and the new recycling bins have totally improved our recycling habits, and by a lot. The girls are just about pro-level recyclers now and it's so cool to see them excitedly taking ownership over what used to be a chore for us all.


I'd love to hear what you guys do to make recycling (or anything to live a more green lifestyle) an easy habit for you and your family. I'm working on adding more eco-friendly cleaning products into my housekeeping routine. My sister in law is a budgeting super-star and an all-around phenomenal housekeeper. When I mentioned this post to her, she says she uses and completely loves Green Works, and I'm excited to take her word for it and try it myself.


This post is sponsored by Green Works. You don't have to compromise to be clean when you use hard working, plant-based cleaners by The Clorox Company.

Check out this quick video to learn more. :)

Monday, January 28, 2013

Organizing Books by Color AND by Genre

We love books and have a little bit of a book-buying problem in the Komenda family. It goes without saying that it doesn't cut it for us to organize our books only by color - that way it would be impossible to find a specific book! And anyway, I think it can look a little forced when huge amounts of books are strictly placed in severe blocks of graduated color. You know what I mean? So while I appreciated the strict by-genre organization in the bookshelf wall in our loft, with our new bookshelf wall in the brownstone, this time front and center in our living room, I decided to experiment with the organization a little.

I've decided I have found the perfect-for-me way to organize books - and it is so, so simple. Here are the steps:


1) Decide where you want the biggest, chunkiest books to sit on your shelves.

My biggest books are art and design books and a couple of atlases and an old family set of encyclopedias. I went with most of these flanking either side of the fireplace. The atlases and encyclopedias went up on the highest shelves, since they are rarely looked at. (Except for one giant atlas that we keep on the coffee table.)

2) Before shelving anything, make piles of your books by genre.

We wanted our genre sections to be pretty specific so we could easily locate a book. We had to go past the fiction/non-fiction route. Our genre piles went like this: Classic Fiction, Contemporary Fiction, Art/Design, Religion, Lifestyle (cooking, hobby, crafting, gardening), Economics, Philosophy, Politics, Law.
1 - Contemporary Fiction  //  2 - Art and Design  //  3 - Lifestyle  //  4 - Religion

3) Organize the individual genre piles by color and while shelving, pay attention to size.

When you're dealing with a large number of books in one place, you can give the eye a chance to rest when there are blocks of just a few colors.  So it became rare for a single shelf to see the full ROYGBIV spectrum - most of the time each shelf was only two or three main colors. And I tried to be loose about the colors. I cared a little more about matching sizes than color shades, and I think that helps the overall look feel a little less uptight. If I had been really strict about keeping the colors in the exact right spot, the spine lengths would have been all over the place, which looks sloppy to me. Also, by being a little flexible with color, I could easily alternate the piles between horizontal widths and vertical stacks.

5 - Classics Fiction  //  6 - Political  //  7 - Design and Travel  //  8 - Economics and Philosophy  //  9 - Law

And that's it! I am so sold on these simple steps to artfully and functionally organize bookshelves. I've tried the tricks on two more bookshelves since doing my own, and I've been just as satisfied with the results. Isn't it the best when form and function work together?